Learning how to create your own server at home has become an exciting and empowering project for tech enthusiasts, small business owners, and even casual users who want more control over their data. A home server allows you to host websites, store personal files securely, stream media, and manage smart devices – all from the comfort of your own space. Setting up a home server not only helps you understand how the internet works but also gives you the freedom to customize and scale your digital environment without relying on third-party services. Whether you want to build a personal cloud, host multiplayer games, or create a private storage hub, building your own server at home is a cost-effective, educational, and satisfying experience. Let’s explore step-by-step how you can create your own home server and unlock its full potential.
What Is a Home Server?

A home server is a dedicated computer or device that stores, manages, and shares data, files, and applications across your home network or the internet. Think of it as a central hub that connects all your devices – computers, smartphones, smart TVs, and even IoT gadgets – allowing them to access information seamlessly. Unlike a commercial web host, a home server gives you complete control over your data, privacy, and custom setup.
A typical home server setup can serve multiple purposes. It can act as a file server for sharing documents and media between family members, a backup server to protect important files, or a media streaming server for movies and music. You can even use it as a web hosting server, a gaming server, or a personal cloud server with tools like Nextcloud or OwnCloud. Advanced users often configure their servers to run virtual machines, manage network-attached storage (NAS), or automate tasks with smart home systems.
With a home server, you gain flexibility, scalability, and hands-on experience with networking, storage management, and server administration – skills that are valuable both personally and professionally. Whether you’re setting up a simple Raspberry Pi media hub or a full-fledged Linux-based home lab, the possibilities are nearly endless.
It can be used for:
- Hosting a personal website or blog
- Streaming media (music, movies, photos)
- Backing up data from multiple devices
- Running smart home automations
- Hosting multiplayer game servers
- Setting up a private cloud, like your own Google Drive
How to Build a Home Server: A Beginner’s Step-by-Step Guide
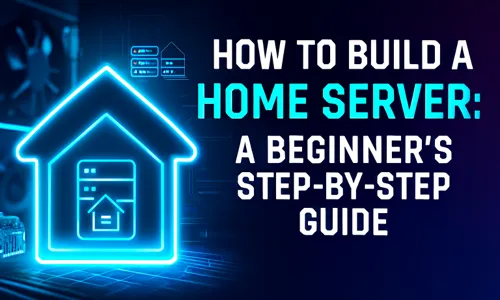
A short and practical guide designed to help beginners understand how to build and configure their own home server from scratch. Learn everything from choosing the right hardware to securing, backing up, and remotely accessing your system – all explained in simple, actionable steps.
Step 1: Choose Your Hardware
Selecting the right hardware is the foundation of a successful home server setup when you want to Create Your Own Server at Home. The components you choose depend on your goals, budget, and the tasks you want the server to handle.
Repurpose an Old PC or Laptop
If you have an old desktop or laptop, you can easily convert it into a home server. Ensure it meets the following minimum requirements:
- At least 4GB of RAM for basic tasks like file sharing or light media streaming.
- SSD storage for faster performance and reliability.
- Ethernet connectivity for a stable network connection. This option is great for beginners who want to explore how to Create Your Own Server at Home without investing in new hardware.
Use a Mini PC or Raspberry Pi
For low-cost and energy-efficient setups, a Raspberry Pi 4 or mini PC is ideal. These compact devices consume little power, run quietly, and are perfect for lightweight tasks like hosting a Nextcloud personal cloud, running Home Assistant, or managing small websites..
Build a Custom Server
If you need higher performance for virtualization, game hosting, or running multiple services, consider building your own dedicated home server. Use:
- A modern CPU (Intel i5/i7 or AMD Ryzen 5/7)
- 8–32GB of RAM depending on workload
- SSD for the OS and HDDs for storage
- A reliable power supply unit (PSU) and cooling system Building from scratch allows you to scale performance and storage according to future needs.
Step 2: Pick Your Operating System
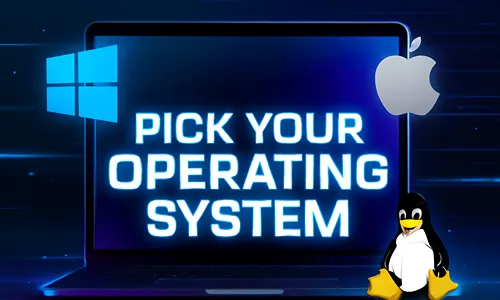
The operating system (OS) you choose determines how you’ll manage and interact with your home server. The right OS depends on your technical comfort level and the server’s purpose. When you Create Your Own Server at Home, choosing the right OS ensures long-term stability and control.
| Purpose | Recommended OS |
|---|---|
| General file/media server | Ubuntu Server, Debian Linux |
| NAS (Network Attached Storage) | TrueNAS, OpenMediaVault |
| Personal cloud storage | Nextcloud on Ubuntu or Debian |
| Windows environment | Windows Server 2022, Windows 10/11 Pro |
For beginners, Ubuntu Server is a great choice – it’s free, secure, and supported by a large community. Linux-based systems are lightweight and perfect for long-term, stable home server operations.
Step 3: Set Up Networking
Proper networking ensures your home server can communicate with other devices seamlessly when you Create Your Own Server at Home.
- Connect your server directly to your router via Ethernet for the most reliable connection.
- Assign a static IP address to your server to prevent IP changes that could interrupt access.
- Configure your router’s port forwarding to allow remote access to your services, such as web hosting or SSH.
- Common ports include:
- Port 80 (HTTP) – for websites
- Port 443 (HTTPS) – for secure sites
- Port 22 (SSH) – for remote terminal access
- Common ports include:
- Consider using Dynamic DNS (DDNS) if your internet provider does not offer a static public IP.
By setting up proper networking, your home server network becomes accessible both locally and remotely.
Step 4: Install Server Software
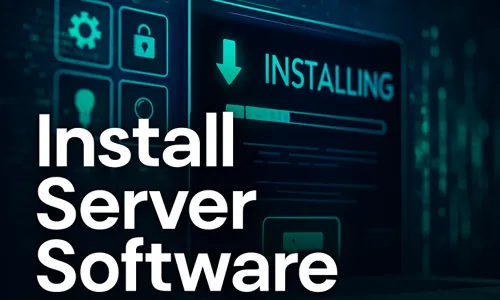
Once your hardware and network are ready, it’s time to install the software that will power your home server. When you Create Your Own Server at Home, these applications define what your server can do:
- Web hosting: Install Apache, Nginx, or Caddy to serve websites or personal projects.
- Media streaming: Use Plex, Jellyfin, or Emby to create a private entertainment hub.
- File sharing: Set up Samba or FTP to share files between devices on your network.
- Cloud storage: Deploy Nextcloud or Seafile for secure, self-hosted cloud access.
- Automation: Use Home Assistant or OpenHAB to manage smart home devices.
These programs are typically open-source and have extensive documentation, making it easy to configure even for beginners.
Step 5: Secure Your Server
Security is critical when managing your own home server system, especially if it’s exposed to the internet. Here’s how to protect it when you Create Your Own Server at Home:
- Change all default usernames and passwords immediately.
- Enable a firewall like UFW (for Linux) or Windows Defender Firewall to control network traffic.
- Use SSH keys instead of passwords for remote access to prevent brute-force attacks.
- Install regular system updates to patch vulnerabilities.
- Use SSL/TLS certificates (via Let’s Encrypt) to enable HTTPS for secure data transfer.
Additionally, you can install security monitoring tools like Fail2Ban to block malicious login attempts and use VPNs for remote access instead of open ports.
Step 6: Access Your Server Remotely
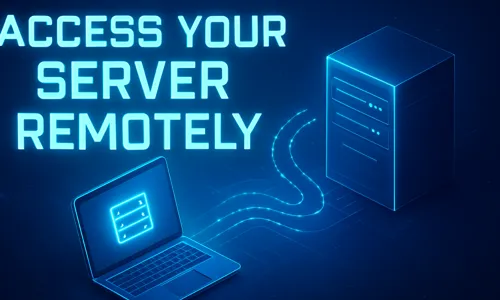
Remote access lets you control and use your home server from anywhere. Here are several reliable methods to consider when you Create Your Own Server at Home:
- Dynamic DNS (DDNS): Services like DuckDNS, No-IP, or DynDNS let you access your server via a fixed domain name even when your public IP changes.
- VPN Access: Set up OpenVPN, WireGuard, or Tailscale to connect securely to your home network from outside.
- Remote management tools: Use platforms like Cockpit or Webmin for a web-based dashboard to monitor and manage your server.
With remote access configured, you can upload files, manage backups, and stream content safely over encrypted connections.
Step 7: Automate Backups
Automating backups is one of the most crucial parts of maintaining a reliable home server setup. Regular backups ensure your data is safe from hardware failures, accidental deletions, or ransomware attacks. An automated backup strategy keeps your personal cloud server and media storage server running smoothly without manual effort.
Here’s how to build a strong backup routine:
- Use Rsync for Incremental Backups: Rsync is a popular Linux tool that can automate differential backups, saving only changed files to reduce storage space.
- Schedule Automatic Snapshots: Platforms like TrueNAS, OpenMediaVault, and Proxmox allow you to set up periodic system snapshots that can restore your server instantly if something goes wrong.
- External Drive Backups: Keep an external SSD or HDD connected to your home server and set up cron jobs or Windows Task Scheduler to automatically copy critical data.
- Cloud Sync for Off-Site Protection: Sync essential files to a cloud service like Google Drive, OneDrive, or Dropbox using tools such as rclone or Duplicati. This adds an extra layer of protection against local failures.
- Test Your Backups Regularly: A backup is only valuable if it works. Test your recovery process every few months to ensure you can restore files quickly when needed.
Setting up a home server is not just about hosting files – it’s about gaining digital independence and learning how to manage your own online ecosystem. Once you understand how to create your own server at home, you can expand it into a powerful, multi-purpose system that supports web hosting, automation, gaming, and media streaming.
Running a DIY home server also helps you save on monthly cloud storage and streaming subscriptions, while giving you full control over privacy and customization. You can scale your system over time, add virtual machines, or even experiment with self-hosted services like Nextcloud, Plex, or Docker containers.
In the long run, creating and managing your own home server network enhances your technical skills, makes your home smarter, and provides peace of mind knowing your data is secure and accessible anytime, anywhere.
So, start your journey today—choose your hardware, install the right software, and take the first step toward building a smarter, more connected digital home.
FAQs About How to Create Your Own Server at Home
Yes, you can repurpose an old laptop as a home server as long as it has sufficient RAM, storage, and a stable network connection.
No, you can use a Dynamic DNS (DDNS) service to connect to your home server without needing a static IP address.
Yes, as long as you secure it properly by updating software, enabling firewalls, and using strong passwords or SSH keys.
Yes, a Raspberry Pi 4 or newer can efficiently handle light home server tasks like file sharing, media streaming, and cloud storage.
No, most home servers are energy-efficient and cost-effective, especially if you use existing hardware or devices like a Raspberry