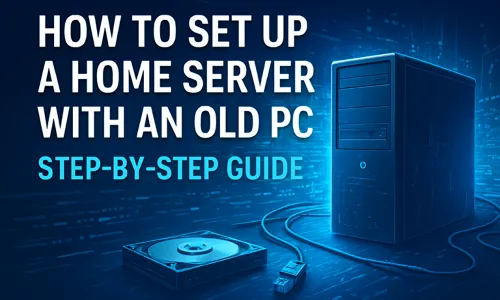
Have an old desktop collecting dust? Don’t toss it yet – with the right approach, you can transform it into a fully functional home server. This guide will walk you through how to set up a home server with an old PC, giving you the knowledge and confidence to perform a complete home server setup that meets your needs. From centralized file storage to media streaming and private cloud solutions, an old PC can become the heart of your digital home. By following these steps, even beginners can repurpose hardware, save money, and gain greater control over their personal data.
In this guide, we’ll walk through how to set up a home server with an old PC, even if you’re new to networking or Linux.
Why You Should Use an Old PC for Home Server Setup

Using an old PC server for a home server setup has many advantages. An old PC can easily be repurposed to act as a reliable home server, allowing you to centralize your files, stream media, and run self-hosted apps without investing in new hardware. This approach is not only cost-effective but also environmentally friendly, as it recycles your existing hardware. Additionally, setting up an old PC server helps you learn about networking, storage management, and server administration while giving you full control over your personal data. Whether for file sharing, backups, or running a private cloud, an old PC server is a practical starting point for anyone looking to start a home server setup.
Before diving into the steps, let’s look at what a home server can do:
- File storage & sharing – Centralize your documents, photos, and videos
- Media streaming – Run Plex or Jellyfin to stream movies to any device
- Backup solution – Automatically back up data from your phones or laptops
- Self-hosted apps – Host your own website, email server, or cloud (Nextcloud)
- Learning tool – Experiment with networking, Linux, and virtualization safely
it’s an eco-friendly way to recycle hardware and gain control over your data.
Important Items for Home Server Setup with an Old PC

To successfully set up a home server with an old PC, you need a few important items. Gathering the right hardware and accessories ensures a smooth and efficient home server setup. Start with a reliable old PC server that has at least 4GB RAM and a dual-core CPU. You’ll also need one or more hard drives to store your files and data. A stable Ethernet connection is important for fast and uninterrupted network access. Additionally, a USB drive of 8GB or more is required to install the server operating system. For the initial setup, a keyboard, monitor, and mouse are helpful, though you can remove them later and access the server remotely. Having these essential items ready makes it easier to set up a home server with an old PC and ensures your server runs efficiently and reliably.
Before starting, gather these basics:
- Old PC – Ideally with at least 4GB RAM and a dual-core CPU
- Hard drives – Use existing drives or add a larger one for storage
- Network connection – Ethernet is best for stability
- USB drive (8GB or more) – For installing your server OS
- Keyboard, monitor, and mouse – For setup (you can remove later and access remotely)
How to Set Up a Home Server with an Old PC (Step-by-Step Guide)
Don’t retire your old computer – repurpose it! This easy, step-by-step guide will show you how to transform that unused PC into a powerful and private home server. You’ll learn to set up a central hub for storing files, streaming media, and hosting projects, all while keeping your data secure and under your control.
Step 1: Choose a Server Operating System
Selecting the right operating system is the foundation of a successful home server setup. Your choice determines the ease of management, available features, and overall performance of your old PC server. Consider these options:
- Ubuntu Server – Ideal for beginners, with extensive support and tutorials
- Debian – Lightweight, stable, and perfect for older PCs
- TrueNAS Core – Focused on storage management, RAID, and backups
- OpenMediaVault – Easy-to-use web interface for home NAS and media servers
For a beginner-friendly and quick setup, OpenMediaVault or TrueNAS is excellent, while Ubuntu Server is versatile for custom setups. Choose an OS based on your server goals, hardware capabilities, and comfort with Linux or Windows environments.
Step 2: Install the OS
Installing your chosen OS is straightforward but important for a smooth home server setup:
- Download the ISO from the official website of your selected OS.
- Create a bootable USB drive using tools like Rufus or BalenaEtcher.
- Boot your old PC server from the USB drive.
- Follow installation prompts, carefully selecting your primary storage drive and setting up partitions if necessary.
After installation, your old PC server is ready for configuration, providing a stable platform for services and applications.


Step 3: Set a Static IP Address
To make your old PC server consistently reachable, assign a static IP address. A static IP avoids conflicts and ensures that network devices can always locate your server:
- Configure via your router’s DHCP settings to reserve an IP address
- Or set directly in the server network configuration using your OS’s network tools
This step is vital for remote access, file sharing, and maintaining a reliable home server setup across your network.
Step 4: Enable Remote Access
For long-term management, remote access allows you to control your old PC server without keeping a monitor and keyboard connected:
- SSH (Linux) – Securely access and manage your server using terminal commands:
ssh username@your-server-ip - Web Interface – Tools like OpenMediaVault and TrueNAS provide browser-based control panels
- RDP (Windows) – Allows full desktop access if using Windows Server
Remote access simplifies maintenance, app installation, and monitoring of your old PC server.
Step 5: Add Services and Applications
After your server is running, install services based on your needs for a complete home server setup:
- Plex / Jellyfin – Stream movies, music, and photos across devices
- Nextcloud / OwnCloud – Private cloud storage and file sharing
- Docker – Run isolated apps like Home Assistant, Bitwarden, or Pi-hole
- Samba / NFS – Share files across computers on your network
Choose applications that align with your home server goals. Most of these services offer online guides and community support for easy installation.
Step 6: Set Up Automatic Backups
Protecting your data is essential for any old PC server setup. Automatic backups prevent data loss:
- rsync / Duplicati – Schedule backups locally or to cloud storage
- RAID setup (optional) – Use disk redundancy to secure data against drive failure
Automating backups ensures your documents, media, and server configurations are safely stored without manual intervention.
Step 7: Keep It Secure
Since your server is connected to the internet, you need to protect it from unwanted access. Think of it like locking the doors and windows of your digital house.
- Change Default Passwords: The first thing to do is change any default passwords. Hackers know the standard ones, so make them strong and unique.
- Install Updates: Always install the latest updates for your computer’s system and apps. These updates often fix security holes that hackers can use to get in.
- Use a Secure Login (For Linux): If you’re using Linux, set up a special “SSH key” to log in remotely. It’s like a super-strong digital key that’s much safer than just a password.
- Turn on the Firewall: A firewall acts like a security guard for your internet connection, controlling what can come in and go out. On Linux, a simple one to use is called
ufw.
By following these simple steps, you’ll keep your server and your personal information safe and secure.
Access Your Server from Anywhere

Once your home server setup is complete, you can make it even more powerful by enabling remote access from anywhere in the world. This feature allows you to manage files, stream media, or monitor system performance even when you’re not at home. To securely access your old PC server, use the following methods:
- Dynamic DNS (DDNS) – Services like DuckDNS, No-IP, or DynDNS let you create a permanent web address for your server, even if your internet provider changes your IP. With DDNS, you can easily reach your home server by typing a simple domain name instead of memorizing long IP addresses.
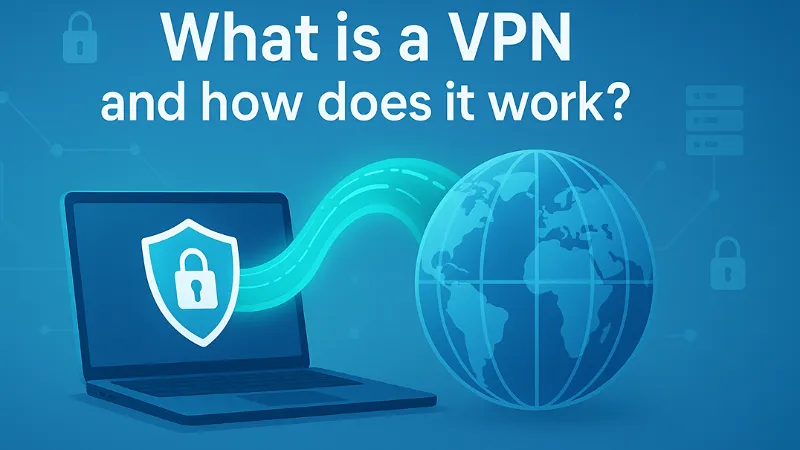
- VPN (Virtual Private Network) – A VPN connection allows you to securely connect to your home network from anywhere. Setting up a VPN server using tools like WireGuard or OpenVPN protects your data while giving you full access to your files and media remotely.
- Port Forwarding – If you plan to host websites or media servers (like Plex), configure port forwarding on your router. This ensures outside requests reach your old PC server safely and efficiently.
- Cloudflare Tunnel – For added privacy, you can use Cloudflare Tunnel to connect your home server setup to the internet securely, without exposing ports or IP addresses.
Always prioritize security when enabling remote access. Use strong passwords, two-factor authentication, and encrypted connections to keep your old PC server and data safe.
Transforming an old PC into a home server is one of the most rewarding and cost-effective tech projects you can undertake. It not only saves money but also gives new purpose to outdated hardware that might otherwise go to waste. With the right setup, your old PC server can handle multiple roles – from storing and streaming media to hosting personal cloud services, websites, or even smart home applications.
A home server setup also empowers you to take control of your digital data. Instead of relying on third-party cloud services, you decide how and where your files are stored. This means greater privacy, flexibility, and peace of mind. Beyond functionality, running your own home server is an excellent way to learn about networking, system administration, and cybersecurity – skills that can prove valuable personally and professionally.
Whether you use your old PC as a file server, media hub, or all-in-one digital assistant, this guide shows that setting up a home server is achievable even for beginners. With proper configuration, security measures, and regular maintenance, your home server setup can run efficiently for years, giving you a reliable, private, and customizable solution for all your digital needs.
In short, setting up a home server with an old PC is a smart move for anyone looking to boost their tech skills, protect their data, and make the most of existing hardware. Once configured, your old PC won’t just be a piece of equipment – it will become the backbone of your personal digital ecosystem.
FAQs About How to Set Up a Home Server with an Old PC
Yes, as long as it meets minimal hardware requirements, such as at least 4GB RAM and a functional CPU.
No, Windows can also be used, but Linux offers more flexibility and is often lighter on older hardware.
No, you can run a home server on a local network, though internet access is needed for remote access and updates.
No, using an old PC minimizes costs, and most server software options are free or open-source.
Yes, with proper cooling and power management, most old PCs can run continuously for a home server setup.